
A Quick Look at the Shadow Man '97 Prototype
 •
•
Article,
Analysis,
Game,
Shadow Man (1999)
•
•
Article,
Analysis,
Game,
Shadow Man (1999)
Wait, what prototype? This one here.
I came across this a while back and was surprised to see it. I was quite excited in what would be there to see given the age of the prototype and was sad to see very little discussion about it online.
If you’ve never even heard of Shadow Man yourself, I might suggest picking it up digitally somewhere such as on Steam or GOG (or buy yourself a physical copy on eBay) - it’s a good ol’ third-person game based on a comic-book of the same name.
Otherwise if you’re like me and have tried playing the game a number of times in the past but just haven’t had the time, perhaps take an opportunity to watch this pretty decent playthrough of the game.
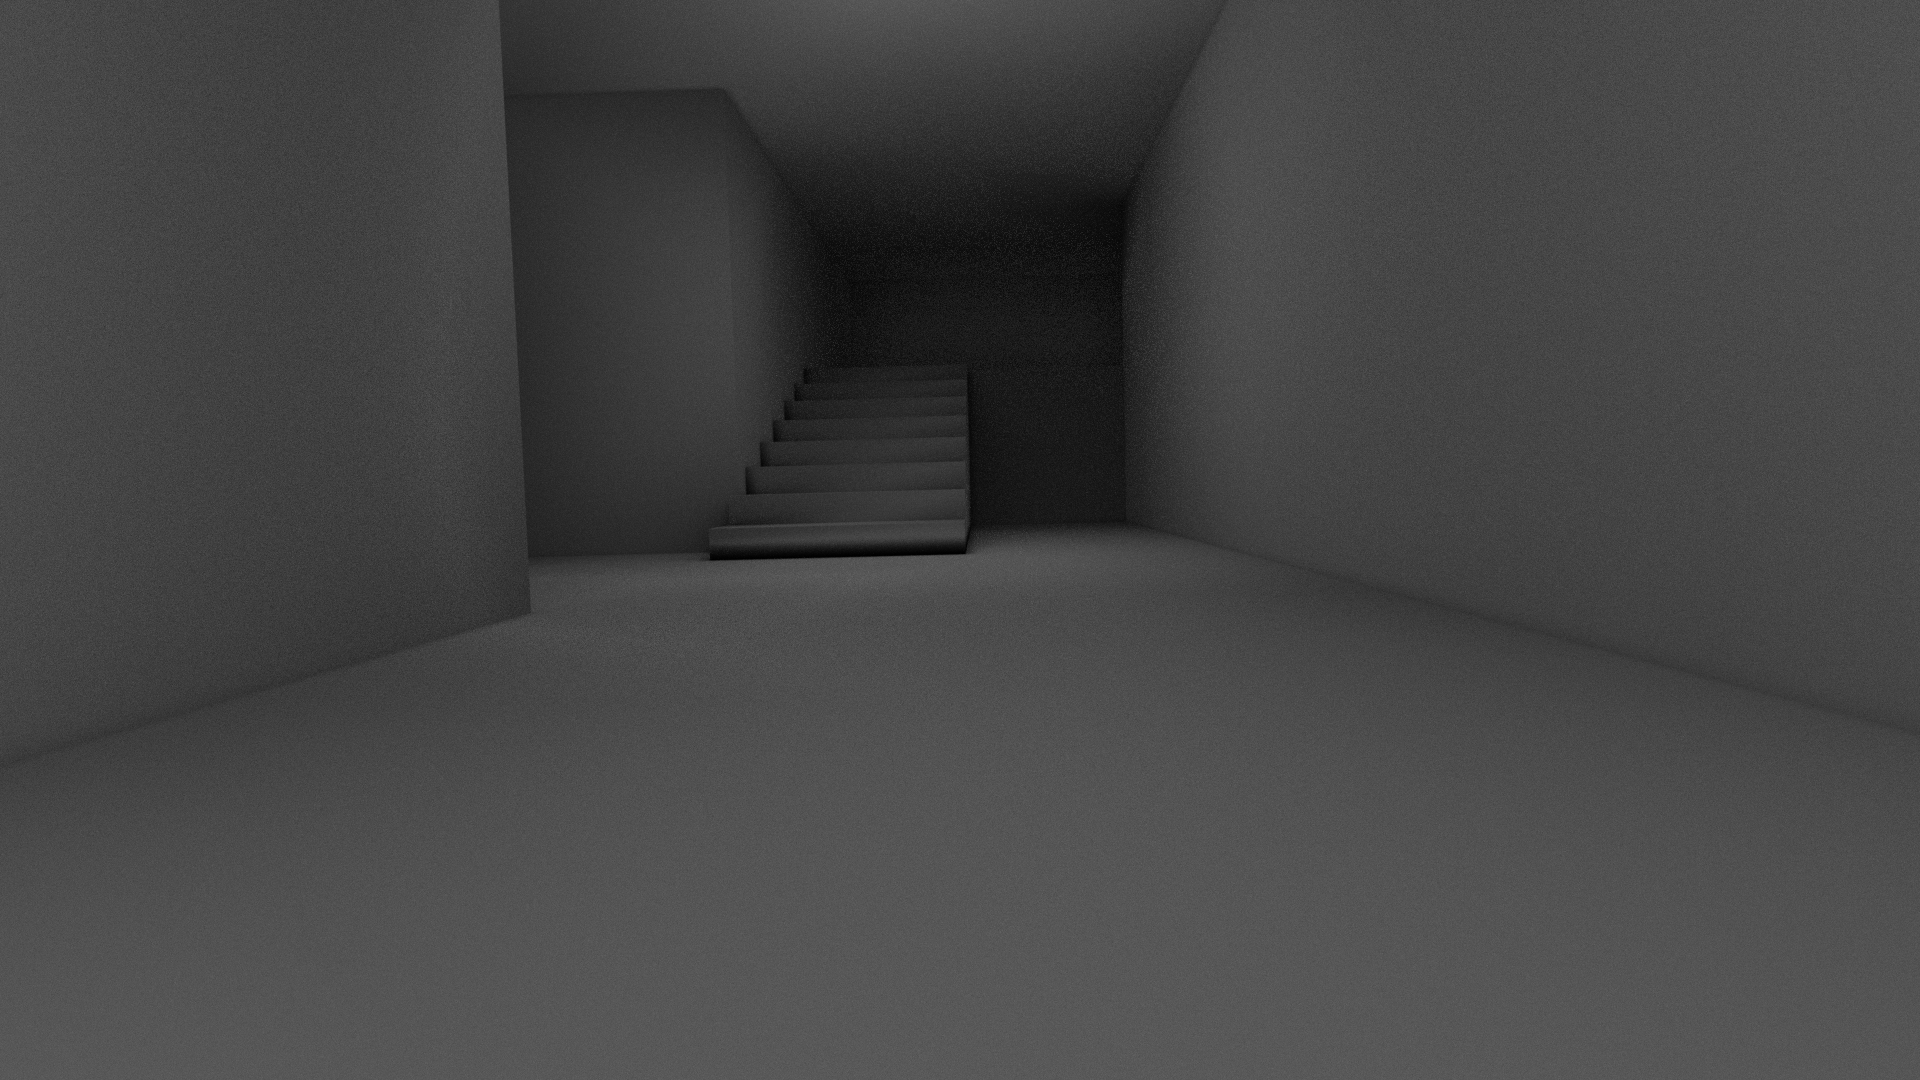
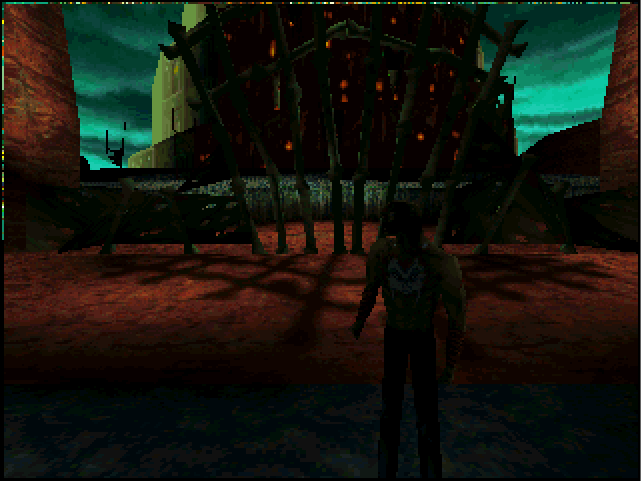
It appears that the engine at this stage of development is radically different compared to that of the final game. Perhaps given that this is more than two years before the game shipped I shouldn’t be too surprised; the date of the executable puts it around E3 of 1997.
Most striking is that at this stage in development the prototype featured a software renderer as well as support for hardware acceleration via 3dfx’s Glide API (neither of which survived into the final game).
That said, you can certainly see the foundations of the game that eventually became the Shadow Man we know today, with some basic Tomb Raider style movement implemented and pretty impressive environments.
If you want to run the prototype with hardware acceleration then you’ll probably want to delete the GLIDE2X.DLL and install a wrapper for 3dfx’s Glide API from somewhere, as this will allow you to use the Glide renderer on a modern machine. A pretty good one I’ve used is nGlide which you can find here.
Upon launching the executable, you’ll be met with a rather busy looking mock main menu.
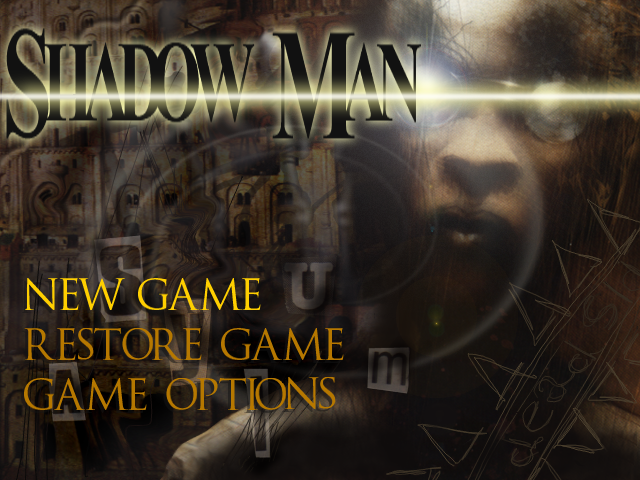
This is unfortunately just an image to represent what the menu was envisioned to look like, but generally just for show - if you leave it, it will start cycling some other examples of what the other menus were envisioned to look like.
Go ahead and hit any key and it’ll progress onto the level selection menu.
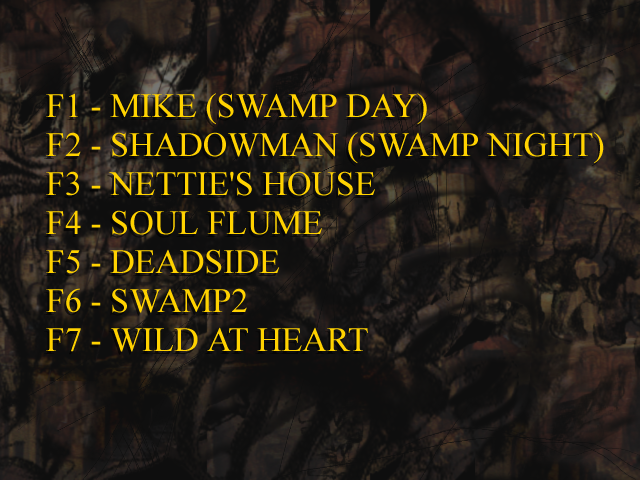
Each of these are basically areas that do appear in the final game, for the most part, albiet in an extremely different form. You’ll be able to quickly see the differences yourself upon opening any of these levels - I’m not going to be outlining what’s changed for these maps here as there’s simply too many to list.
Once you’re in a map, you can use the following controls to mess around.
- Pressing O increases the draw distance
- Pressing L lowers the draw distance
- Using the arrow keys will move you around
- Space Bar will cause you to jump
- Press W to display the wireframe view
- Press R to respawn your character
- F6 enables free camera mode (use the mouse to control the camera)
- F5 switches back to the default camera mode
- Pressing D switches between the different light modes (this appears to be broken, perhaps something for another article)
- Pressing Y will darken the lighting
- Pressing H will increase the lighting
- J will decrease the fog distance
- U will increase the fog distance
- Right CTRL will fire a projectile, which also emits a dynamic light
Be warned that at this stage of development, it doesn’t appear the collision code was robust enough to handle some situations. I noted in particular on the Deadside level that if you jump into the wall that overhangs you with a ledge then you’ll sometimes get stuck in the wall.
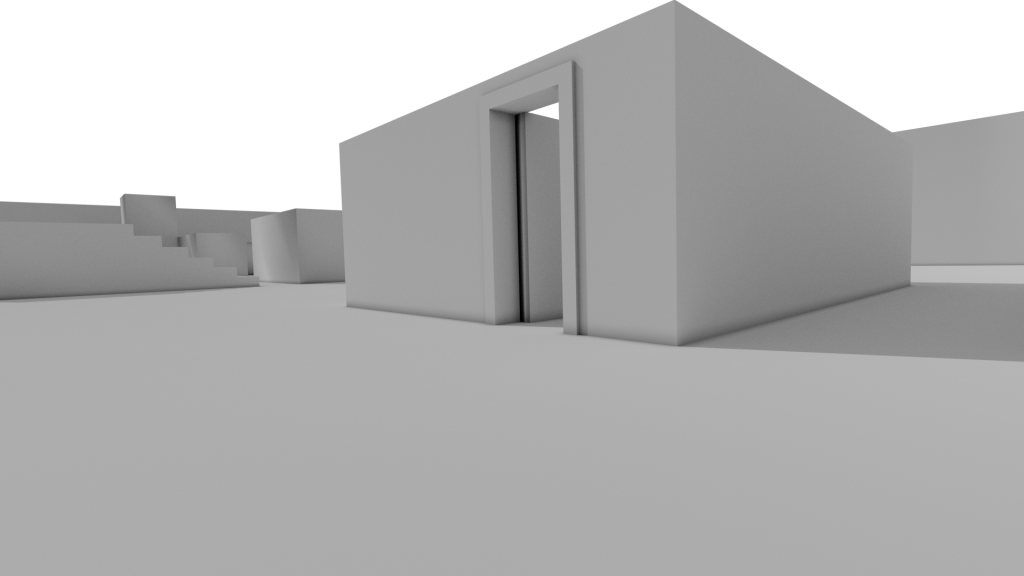
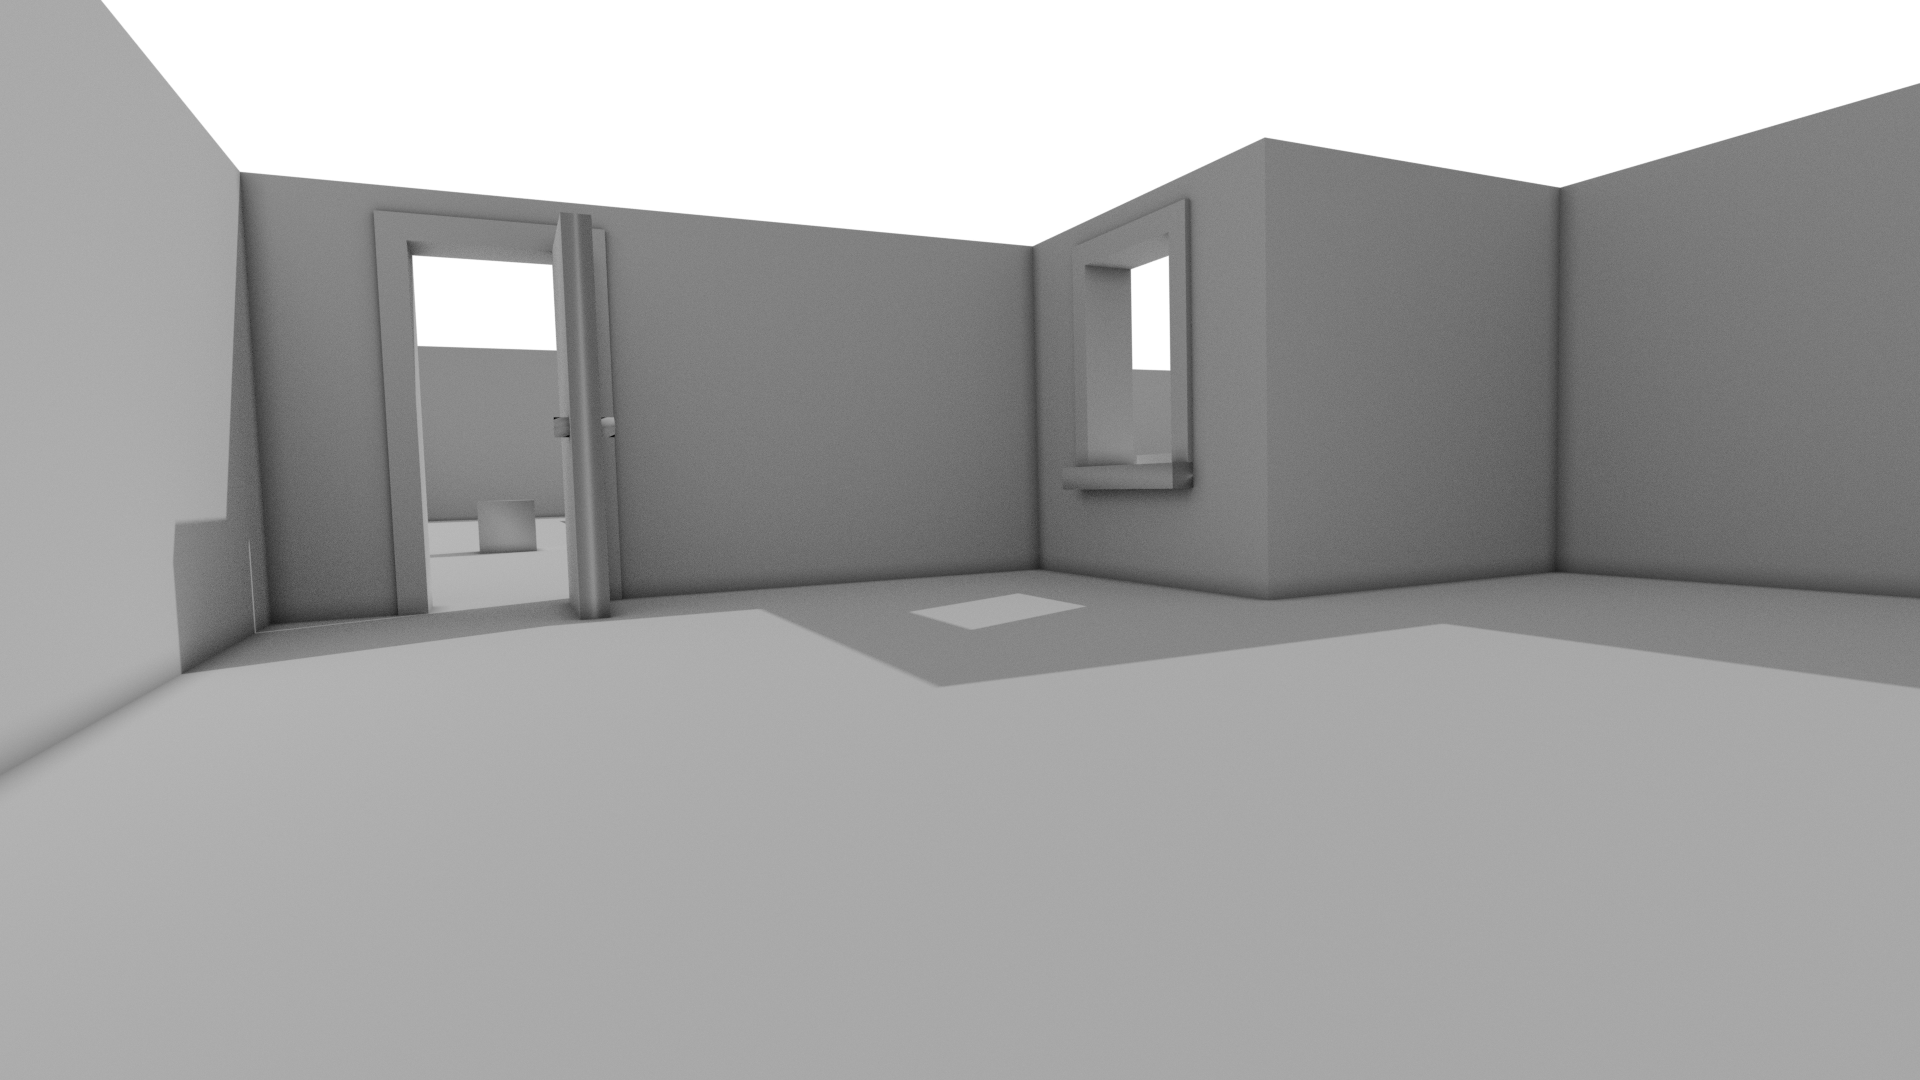
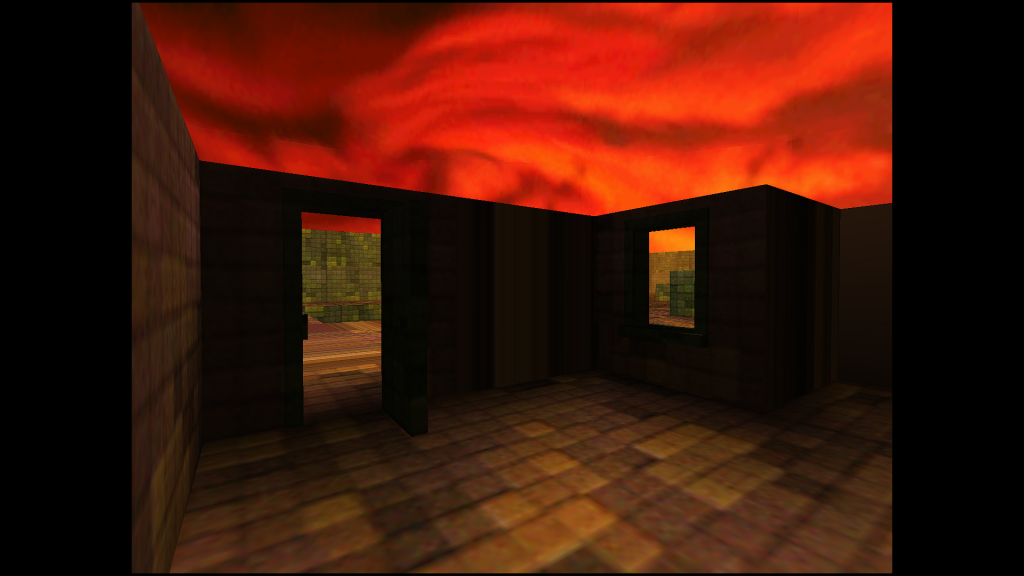
Also worth noting that in Nettie’s house, walking out the doorway will result in you falling into the abyss. So probably don’t do that, unless you really want to.
On the off-chance you’re unable to check the prototype out for yourself, I’ve provided videos below showing the levels available (with the exception of one, which we’ll look at later).
Now, let’s take a look at that other level…
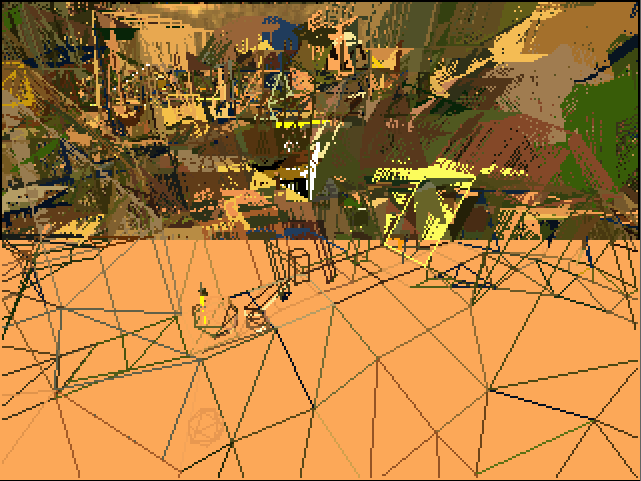
The Assault Course
In the prototype it was surprising to see a map called ASSAULT.BGM, which could not be accessed via the prototype. There is an _Assault _map in in the final game (though not typically accessible).
A video of the Assault map as it appears in the final game is included below.
If you want to check it out for yourself, there is a guide here on enabling debug mode which will allow you to access the map.
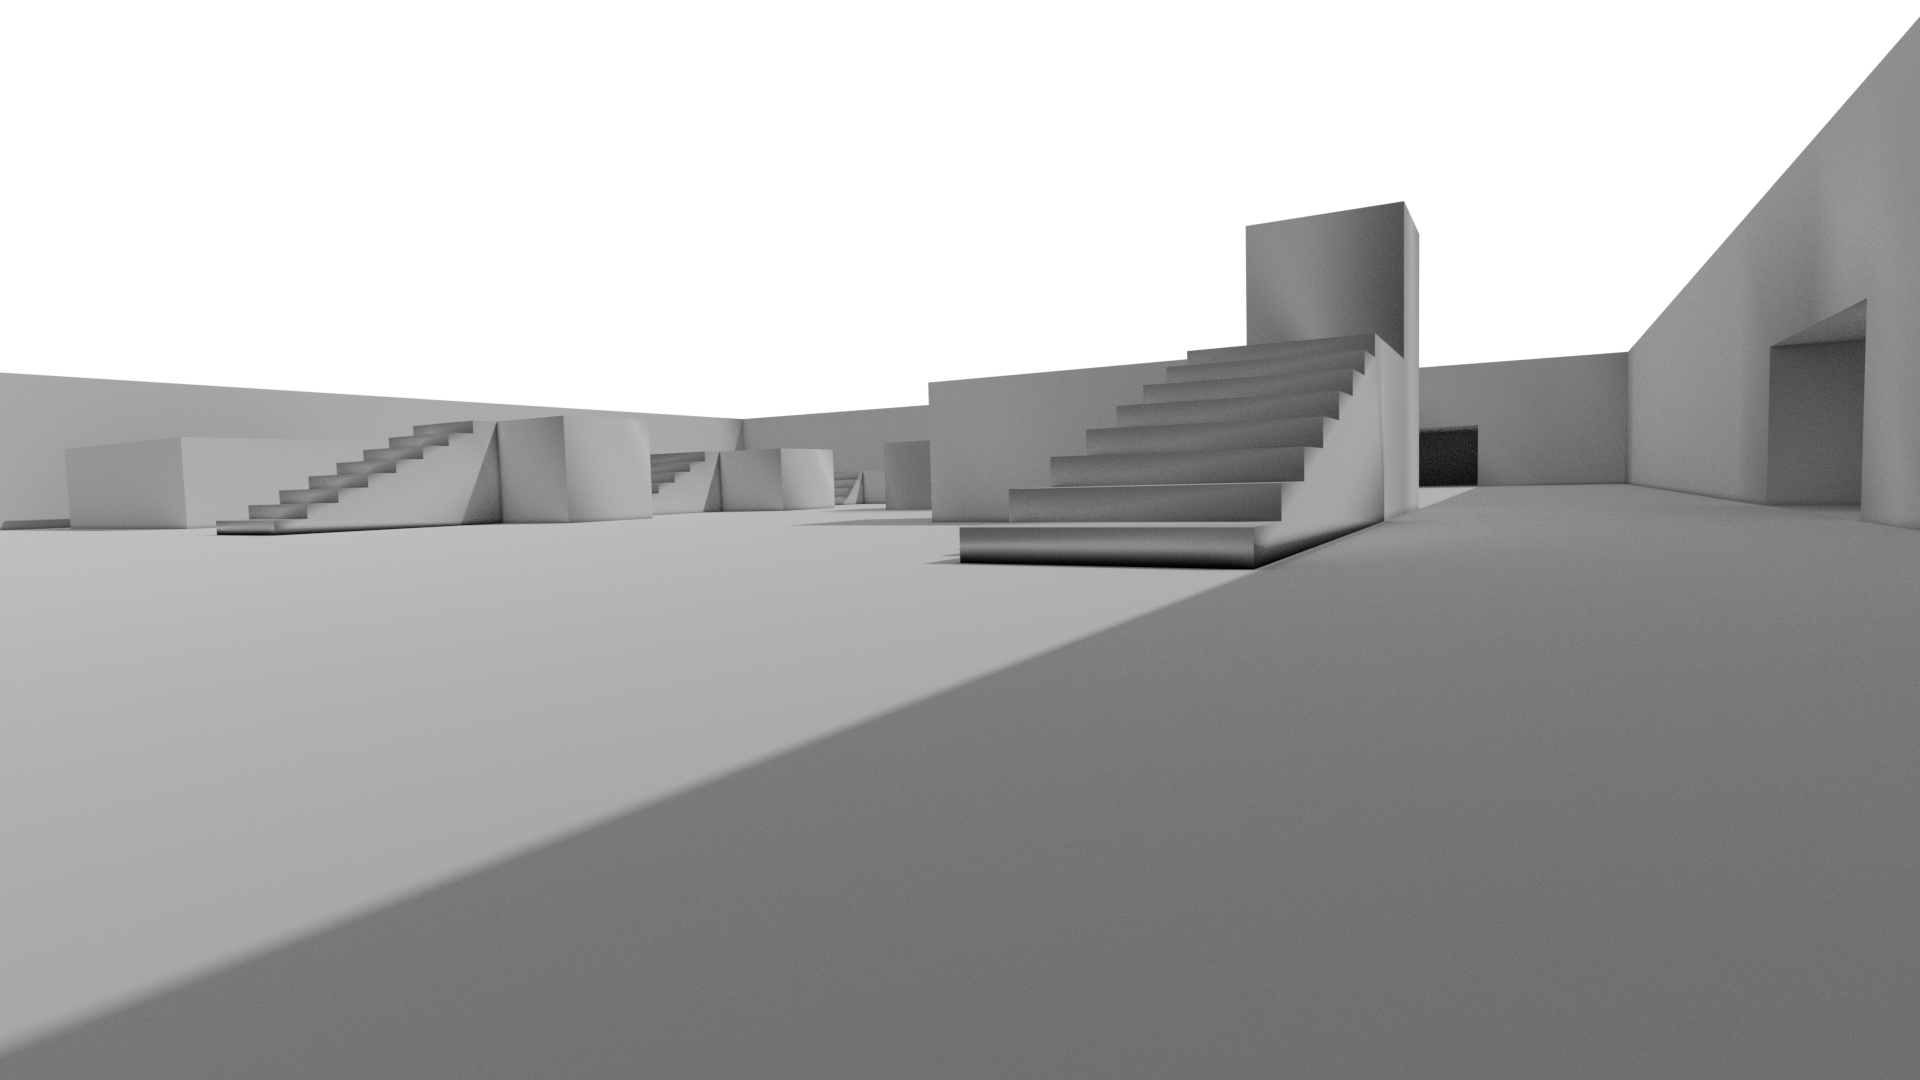
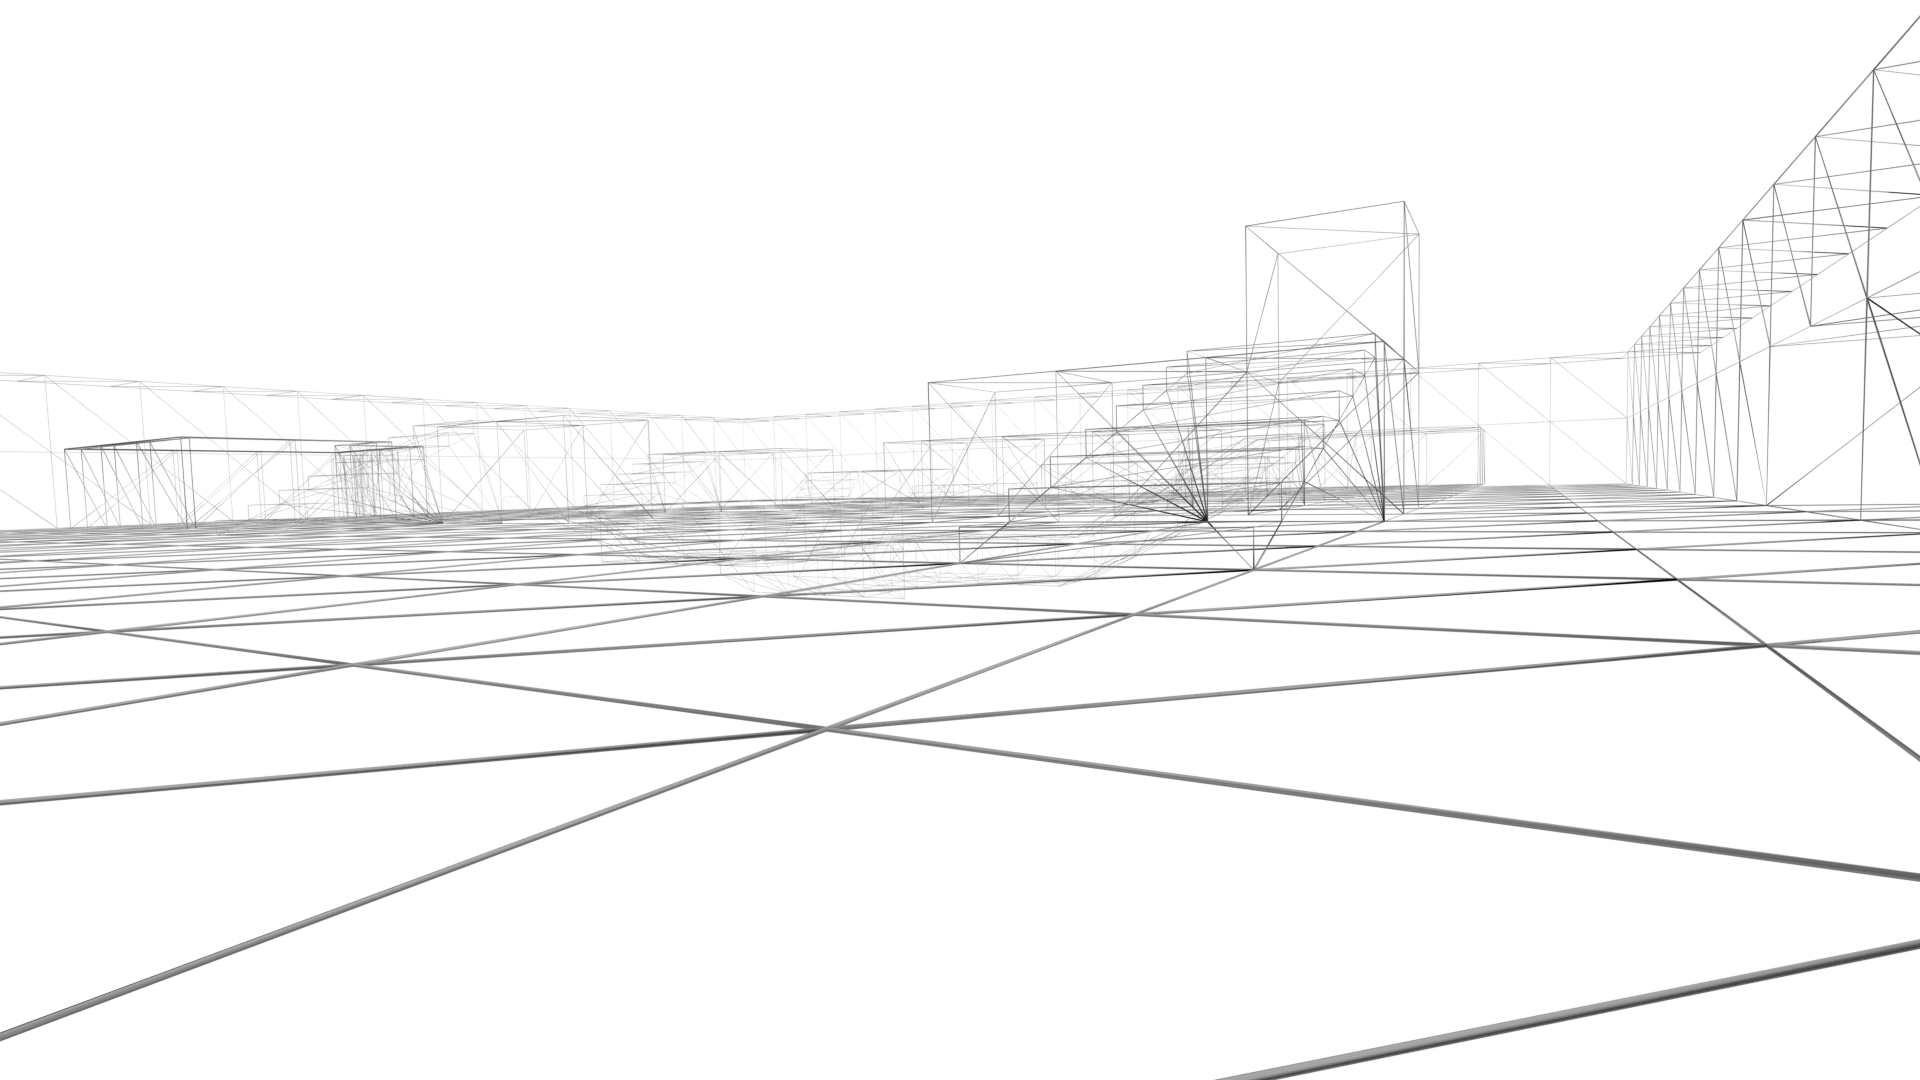
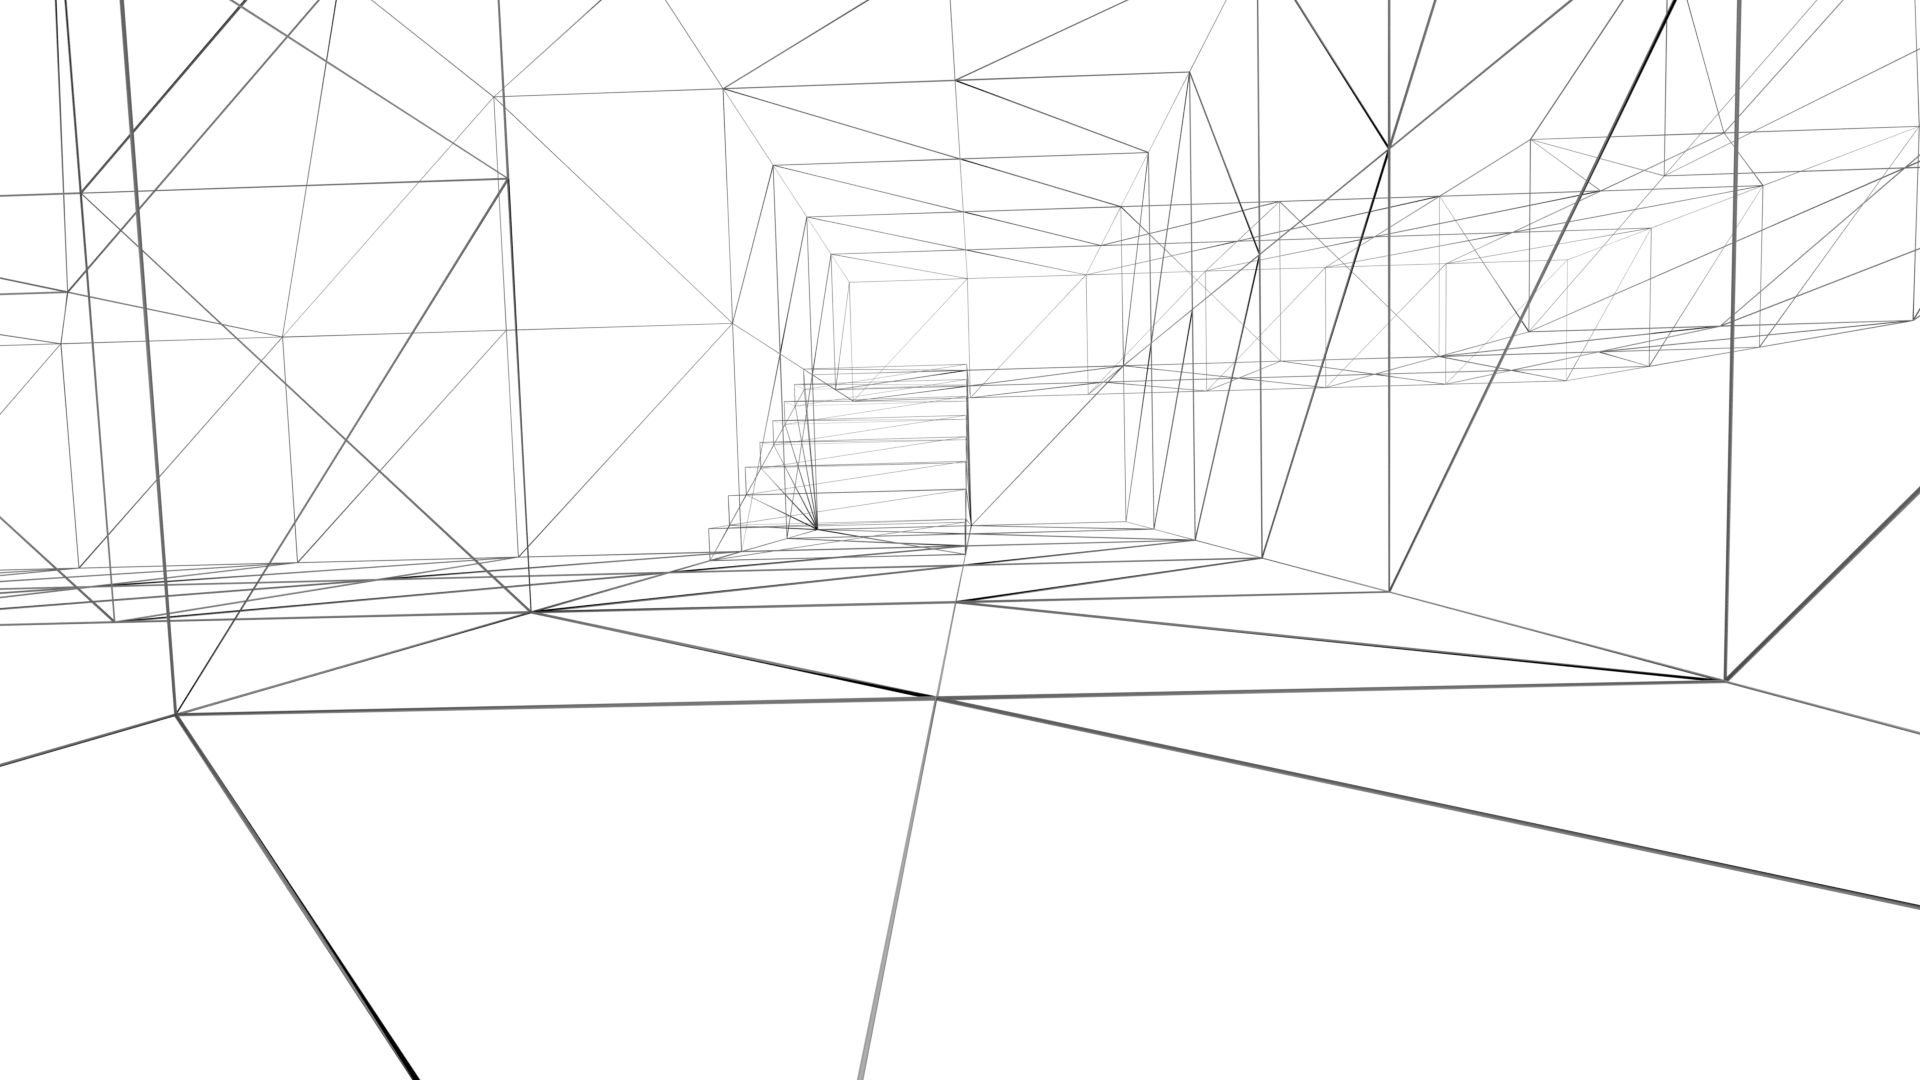
Unfortunately attempting to access the Assault map in this prototype seemed a little tricky on initial inspection, I had noted however there was a PRJ file included (we’ll talk about these shortly) - so I produced a few renders which you can see below.
It wasn’t long after that I realised one could just swap the files around with the first level in the prototype to quickly force it to load.
This pretty much did the trick although the player spawned outside of the map and would fall forever, so there was no chance of running around. Fixing this would probably be pretty easy now that I’ve got a large portion of the prototype mapped out, but I didn’t think it was worth the time given how little there is here.


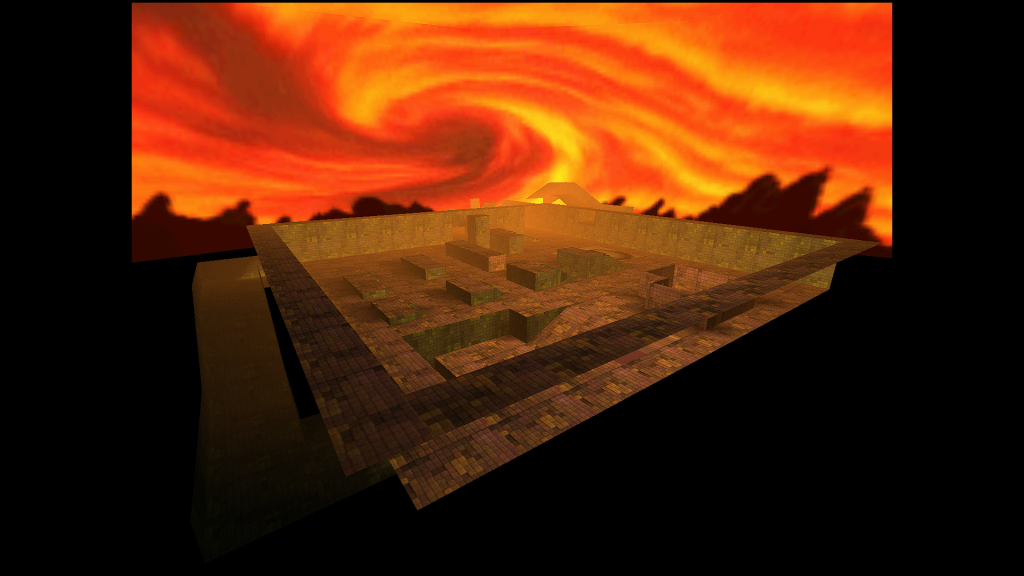

As you can see, the Assault map in the prototype is a bit more colourful than that in the final game. We can also see the face of someone probably involved in the game too, though I’ve no clue who!
Files, files everywhere!
There are quite a few files here of note that won’t take much time explaining, so we’ll quickly go into these.
Firstly under the GAME/DATA/ANIMS/SOURCE/ directory, the PRJ files here are actually project files for an older version of 3D Studio Max, as far as I understand it.
Additionally under the GAME/DATA/LEVELS/LEVEL8/ directory, there is a PRJ for the Assault level.
There are tools out there that will let you convert these to any other format and allow you to view them in software such as Blender. I’ve taken the liberty to convert the aforementioned files to FBX, however there are some issues with the results (such as missing bone weights) but these should make them a little easier to view for those curious. You can download them here.
Everything else under the GAME/DATA/ANIMS/ directory is pretty self-explanatory, though I have not yet had the time to produce a format spec for anything there.
You might notice both BGM and BSP files among the files. The BGM files are what the game actually uses whereas the BSP files are intended for use with the editor. Structurally both formats are relatively similar to one another, though there is a lot more redundant data in the BSP file and the order of the data is different.
You may also notice that there are quite a few duplicate BGM files included under some of the folders. While I believe a checksum against some of them returned differently when I checked, I either was not able to see obvious visual differences when loading them in-game, they turned out to be a copy of the Assault level or they just caused an outright crash; I didn’t spend a huge amount of time investigating them.
The SOB format is used for storing static meshes or, well, objects. In the case of this tech demo this is exclusively used for the sky dome and other distant details. An extreme example is the Deadside level in which not only the sky dome but the tower seen in the distance is provided by it’s associated SOB.
I should lastly add that the formats created by the developers are big-endian, as opposed to little-endian. I’m not sure why they made this decision.
BSP Editor
So you might have heard mention of an editor. Well, under the DATA/LEVELS/LEVEL8 directory of the prototype, there’s a directory full of some rather interesting files, though one in particular is very interesting.
It’s a rather non-descriptive B.EXE file which, as it turns out, is the tool the developers used internally to generate a BSP tree from any PRJ file and spit out a file ready for the game. There also appears to be the function to edit them as well.
//////////////////////////////////////
       BSP Editor v1.50
       Acclaim Studios\Iguana UK
       Ed Scio
//////////////////////////////////////
If you’re wondering who this fellow named Ed Scio is, he was responsible for Shadow Man’s engine - Vista 3D.
It seems that the BSP files for all of the levels in the prototype are included, though the static objects that the editor references are missing.
objects\sky.sob
objects\torus.sob
objects\sphere.sob
objects\pyramid.sob
objects\tree.sob
Running the editor from where it’s currently placed always appears to give an error when it’s generating any texture data, so I suggest moving it somewhere else (like directly under the DATA directory).
Beyond that though, I was unable to get any further with it.

Unfortunately I have not had any luck getting it working via DOSBox or any machine I have here, though if you have any luck yourself then please let me know! It seems to have issues setting up the display.
Textures, textures and textures
Each level has it’s own pool of textures the game will use. Between the software renderer and the 3dfx Glide renderer, the textures are loaded slightly differently.
When the game is using the 3dfx Glide renderer, the game uses the 3DF files stored under the LEVELS/<curlevel>/GLIDETEX/ directory. The 3DF format is actually a format that 3dfx themselves created and loading any textures of this format is handled by 3dfx’s API rather than the game itself.
Below are the textures used for the Assault map included in the prototype, excluding some of the odd duplicate blobs and Shadow Man model textures.


The software renderer on the other hand will load a TEXTURE.BIN file located under the LEVELS/<curlevel>/ directory instead, which is essentially a blob of the textures with a palette provided at the start of the file. These are unsurprisingly mostly the same as the 3DF files, though it’s worth noting a few of the 3DF textures have an incorrect alpha set up whereas the textures provided in TEXTURE.BIN do not.

An example of how textures are packed in the TEXTURE.BIN file. Click the thumbnail to view the whole thing.
The textures used for the Shadow Man model certainly don’t appear to be packed in the most efficient way, but this wasn’t uncommon for the time - games such as Half-Life spring to mind.
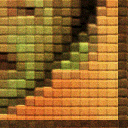
Within the block of textures, you’ll notice some of the textures used to display the sky which actually fit together to basically produce a continuous seamless texture.
This is essentially then wrapped around your view to give an illusion of a sky in the distance - not at all an uncommon technique (see Hogs of War on PC or MDK for examples).
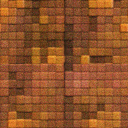
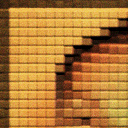
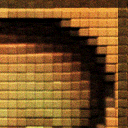
The sky for this particular level is actually really nice, so I pieced it together below followed by the skies used by some of the other levels as well.


I’ve gone ahead and converted all of the textures for each of the levels and uploaded them here if you want to see them for yourself.
Software rasterization
At this stage of development, Shadow Man featured a software renderer. This feature didn’t make it to the final release.
Some of you younger folk probably don’t know what a software renderer is, perhaps, so just to explain, before we had the wonders of hardware acceleration to do everything for us, we had to depend on the CPU to blit pixels to a buffer which could then be displayed to your screen - fun times!
This perhaps isn’t too surprising, this was at a point of transition for the industry as it was only just becoming clear that graphics cards were the future. Games such as Quake 2 for example, which shipped the same year as this prototype, still supported software rendering.
I’d love to get into how incredible I find the progress that was made from 1996 to 1999 in regards to realtime computer graphics, but I digress.
This thing is pretty impressive, with support for alpha-tested textures, adjustable fog (very nice), Gouraud shading and even support for dynamic lighting on both models and the environment.

Despite the impressive presentation with the software renderer, it struct me that when viewing the world via the game’s wireframe mode, the whole of the buffer was not being cleared - only half of it.
Unsure if it was intentional or not, we set about on rectifying this. Tracking down where the buffer was being cleared wasn’t actually too tricky, the process at least is perhaps a bit drawn out for this particular article, but once we found the culprit we went ahead and patched the executable.

Much better! You can find the patched executable here.
A VHS Timeline
One of the developers was nice enough to share a couple of videos on their YouTube channel, which were produced internally during the development of the game, which show it’s gradual evolution into the build we see here and beyond.
The video coming first is, what I assume, to be the earliest and was produced sometime in 1997. The level shown obviously did not feature in the final game, and the Shadow Man himself features a very different model and animations.
This next video is from the 17th of February, 1997. It shows a version of the Swamp level featured in the build we have, though I was not able to spot any obvious differences.
This video is from the 3rd of March, 1997 and shows two areas that exist in the build we have. The Swamp, again, appears very similar if not identical however the Deadside area is very rough.
This next video is from the 24th of July, 1997. It’s very similar if not identical to the build we have here.
And finally, a video from the 16th of January, 1998. This shows a significant amount of progress made since the last video, with a number of mechanics now making their way into the game.
Closing Comments
A lot of people may have dismissed this prototype on the face of it but it turns out there is quite a lot here to digest and I know there’s plenty more here to investigate. I’m very interested to see the editor up and running in particular.
To my knowledge the game had been in development for less than a year before this particular build is dated, and what’s here is quite impressive given that, as far as I’m concerned anyway.
This was also the first time I’ve reverse engineered a game in such depth, to the point that I’ve got a considerable part of the prototype mapped out - hence why we were able to fix the buffer clearing in the software rasterizer.
Beyond that there’s more I’d like to go into, such as the level formats, the odd lighting functions and perhaps spending a bit more time trying to get the editor working, but I’ll leave this for another time for now.
Thanks for reading!